Outdoor Storage
Views: 0 Author: Site Editor Publish Time: 2025-09-12 Origin: Site


Ready to take on a fence installation project? You can install a chain link fence yourself and save a lot of money. When you skip hiring pros, you avoid labor costs.
Professional installation often costs about $16,000.
Doing it yourself can drop the price to around $6,500 for materials.
You just need a clear step-by-step plan. With the right approach, you can handle this job and feel proud of your work.
Putting up a chain link fence by yourself can help you save money. You might spend about $6,500 on materials instead of $16,000 for a professional.
Get all the tools and materials you need before you start. Being ready makes the job easier and helps you finish faster.
Look up local rules and get permits before you dig. Knowing the rules keeps you out of trouble and makes sure your fence is allowed.
Measure and mark your property lines very carefully. Doing this stops mistakes and makes sure your fence is in the right place.
Check your fence often after you put it up. Look for rust, sagging, or loose parts to keep your fence strong and looking good.
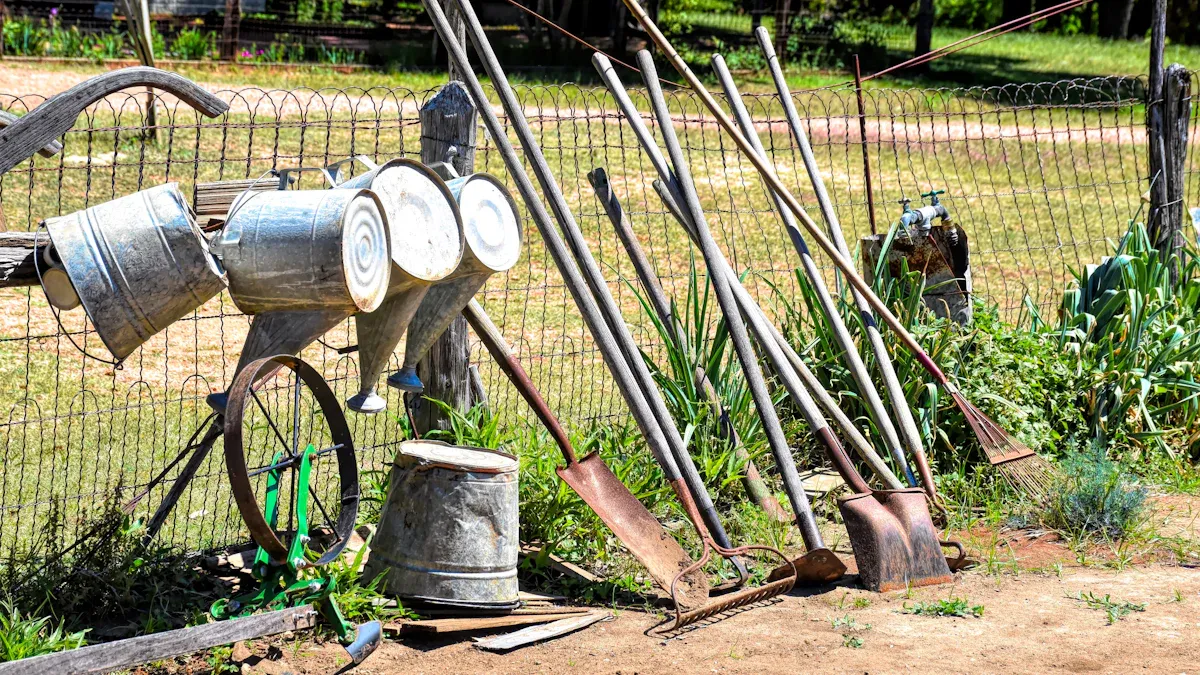
Image Source: unsplash
Before you start building your chain-link fence, you need to gather the right tools and materials. Having everything ready makes the job smoother and helps you avoid delays. Let’s break down what you’ll need.
You want to use tools that make each step easier. Here’s a list to get you started:
Auger or post-hole digger: You’ll use this to dig holes for your fence posts.
Laser level: This tool helps you keep your fence line straight and level.
Bear Hold chain link fence stretchers: These come in sizes that match the most common pipe diameters. They work for both home and commercial projects, so you get a good fit for standard posts.
Nail gun: If you’re working on a large area, this tool speeds up the process.
Gate hardware kits: These kits include everything you need to install gates.
Tip: Bear Hold stretchers are designed to fit the most popular pipe sizes in the industry. You can use them for almost any chain-link fence project.
You need specific materials to build a sturdy chain link fence. Here’s what you should have on hand:
Fence fabric (usually sold in 50-foot rolls)
Top rail (total length equals your fence minus gate openings)
Line posts (divide your total fence length by 10 and round up)
Terminal posts (two for each gate)
Top rail sleeves (one for each plain top rail)
Loop caps (one per line post)
Tension bars (one for each end or gate post, two for each corner post)
Brace bands (one per tension bar)
Rail ends (one per tension bar)
Tension bands (four per tension bar or one per foot of fence height)
Carriage bolts (5/16″ x 1 1/4″, one per tension or brace band)
Post caps (one for each terminal post)
Fence ties or hook ties (one for every 12″ of line posts and one for every 24″ of top rail)
Walk gate and double drive gate (as needed)
Male and female hinges (two per walk gate, four per double drive gate)
Fork latch (one per walk gate)
With these tools and materials, you’re ready to tackle your chain-link fence installation. You’ll find that preparation is key to a smooth project.
Before you start digging, you need to check your local rules. Every city or neighborhood has its own requirements for fence installation. Here are some things you should look for:
Height restrictions keep fences from blocking views or looking out of place.
Zoning codes tell you where you can build and how high your chain-link fence can go.
Building codes make sure you use safe materials and methods.
Homeowners Association approval is a must if you live in a community with an HOA.
Tip: Call your city office or visit their website. You can often find all the rules and permit forms online.
You want your chain link fence to sit right on your property line. Mistakes here can cause big problems. Some people build on a neighbor’s land by accident. Others forget to plan for trees or slopes. Here are common mistakes to avoid:
Building over the line can lead to legal trouble.
Poor planning means you might order the wrong amount of materials.
Ignoring trees or utility lines can make the job much harder.
To measure your property lines, try these methods:
| Method | Description |
|---|---|
| Consulting Plat Maps | Plat maps from your local government show exact property lines and measurements. |
| Checking Physical Markers | Look for survey pins or other markers at the corners of your yard. |
| Hiring a Professional Surveyor | A surveyor gives you the most accurate results, especially for tricky or unclear boundaries. |
Mark your corners with stakes and run string between them. This helps you see the fence path and spot any obstacles.
Now you need to figure out how much chain-link fence material to buy. Professionals break the fence into “stretches.” A stretch is a straight line of fence with no gates or turns. When you add a gate or change direction, you start a new stretch. Each stretch needs its own set of line posts and terminal posts. Terminal posts are bigger and support the ends and corners.
Walk the fence line and measure each stretch. Write down the lengths. Count how many corners and gates you have. This helps you order the right amount of posts, rails, and mesh. Careful planning now saves you time and money later.
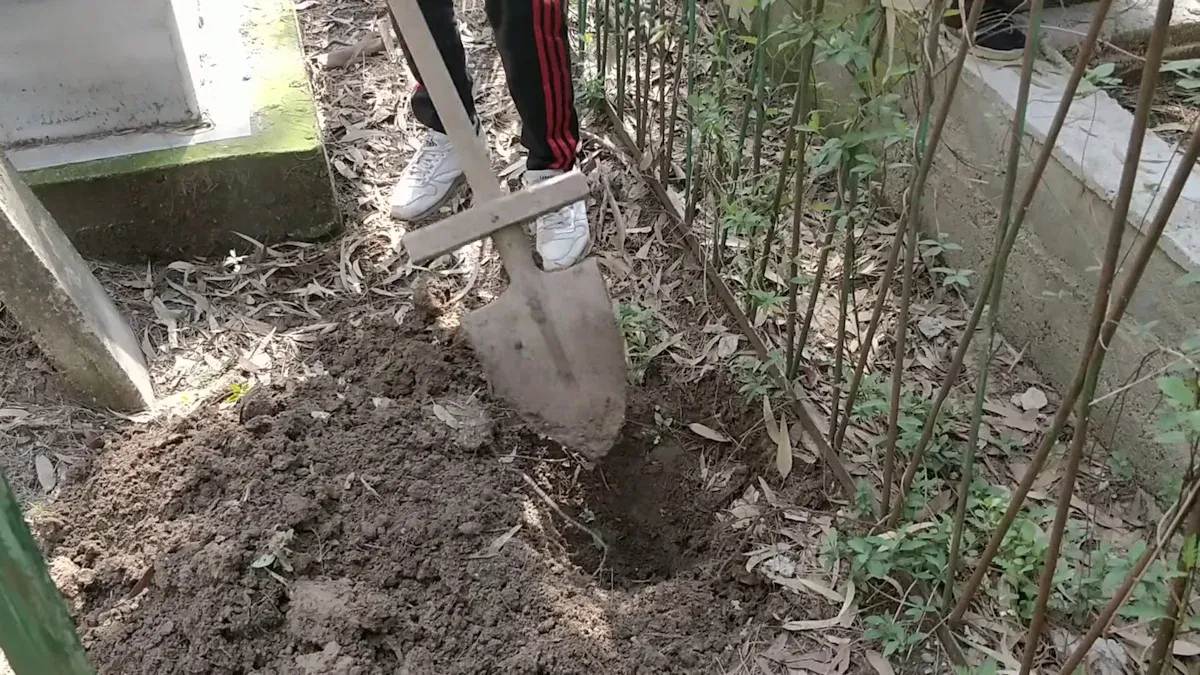
Image Source: pexels
You want strong posts for your chain link fence, so digging the right holes matters. For a 4-foot fence, dig at least 24 inches deep. If you build taller, add 3 inches for every extra foot. Soil type changes how deep you need to go. Sandy soil stays stable when packed, but you may need to dig deeper for loam or clay. Clay can shift when wet, so plan for extra depth if your yard has it.
| Soil Type | Characteristics | Fence Stability |
|---|---|---|
| Sand | Coarse, porous, stable when compacted | Needs less depth |
| Loam | Soft, flexible, less stable | Needs deeper footing |
| Clay | Dense, hard, changes with moisture | Can shift, needs careful planning |
Tip: If you have access to a skid steer with an auger, use it! This machine makes digging faster and easier. You get consistent hole depth and less physical strain.
Corner and gate posts hold the most tension, so you need to set them carefully. Make sure each post sits at the right depth and stands straight. Common problems include getting the depth wrong, poor alignment, and trouble with soil conditions. Double-check your measurements before you pour concrete. Reinforce corners and gate areas for extra strength. Even tension helps your chain link fence stay sturdy.
Watch for these challenges:
Depth accuracy
Alignment
Soil stability
Spacing
Line posts run between corners and gates. Space them 4 to 10 feet apart, but never more than 10 feet. If you use privacy slats or have heavy mesh, move posts closer together—try 6 to 8 feet. The right spacing keeps your chain link fence stable and prevents sagging. Walk the fence line and check each post before you set it.
Note: Consistent spacing and depth make your fence look straight and last longer.
You’re ready to start building the frame for your fence. Begin by attaching the top rails to the posts. Slide the rails into the rail ends and secure them with brace bands and carriage bolts. Make sure each rail sits level and connects tightly to the posts.
When you install a chain link fence, you need to use the right hardware. Here’s what works best:
Tension bands and bars keep your fence strong. Space the tension bands evenly along each post and tighten them so the mesh fabric stays flat.
Ties and fasteners, like hog rings and brace bands, hold the chain link fabric to the rails and posts. These pieces give your fence stability.
Galvanized steel posts resist bending, even in windy weather.
Vinyl or plastic-coated ties help prevent rust, especially if you live in a wet climate.
Stainless steel or coated gate hardware stands up to rain and sun.
Cross-bracing adds extra support for long stretches or gate areas.
Tip: Check all fasteners and bands before you move on. Tighten anything that feels loose. Regular inspection keeps your fence installation sturdy for years.
Now you can unroll the chain link fabric. Lay it out along the fence line, keeping it flat and straight. You want to make sure the mesh sits about two inches above the ground. This helps prevent rust and lets the ground settle without pushing up the fence.
Follow these steps to install a chain link fence fabric with even tension:
Unroll the fabric along the fence line. Insert a tension bar through the end links and attach it to the tension bands on your first terminal post.
Use a fence stretcher or come-along winch to pull the fabric tight. Attach a temporary tension bar to the loose end and connect your stretching tool between this bar and the next terminal post.
Pull the fabric slowly. Watch for the diamond pattern to flatten out. This means you have the right tension.
Secure the fabric with ties every 12 inches on line posts and every 24 inches along the top rail. This spreads the load and keeps the mesh from sagging.
Keep the bottom of the mesh about two inches above the ground.
️ If you want a smooth install, use a 36" 3-hook fence stretcher bar. It’s made of galvanized steel, so it won’t rust and it makes stretching the mesh much easier.
You need to insert the tension bar and bands to keep your chain-link fence tight and straight. Slide the tension bar through the end links of the mesh. Attach it to the tension bands on the terminal post. Make sure the bar sits flat against the post.
Common mistakes can happen here. If you don’t stretch the mesh enough, your fence will sag. If you overstretch, the mesh can warp or break. You want to see a natural crimp in the tension wire after you finish. Use a fence puller to get the right tension. Take your time and check your work as you go.
Don’t forget:
Stretch the mesh evenly.
Avoid pulling the tension wire too tight.
Double-check the alignment before you fasten the bands.
Note: If you install a chain link fence and notice sagging, you probably need to adjust the tension bar or bands. Fixing this early saves you trouble later.
Stretching and fastening the mesh is the final step before you finish your fence installation. You want the mesh to look neat and stay strong for years.
Grab your stretcher tool and attach it to the edge of the chain link fabric. Connect it to the tension bar or mesh. Pull the fabric tight, making sure the tension stays even across the whole fence. Use pliers to grip and secure the ties. Drill chucks help you attach hardware quickly and firmly.
Here’s a quick guide:
Attach the stretcher tool to the edge of the mesh.
Connect it to the tension bar for controlled tensioning.
Pull the fabric taut. Watch for even stretching.
Secure the tension bar and bands to hold the mesh in place.
You can use specialized tensioning tools for a professional finish. These tools help you keep the tension consistent and prevent sagging. If you install a chain link fence with a 36" 3-hook fence stretcher bar, you’ll find the job goes faster and the results look better.
Most people finish installing a chain-link fence for an average yard in a few days to two weeks. Here’s a quick look at the timeline:
| Phase | Duration |
|---|---|
| Consultation and Planning | 1–2 Days |
| Material Procurement | 1–3 Days |
| Site Preparation | 1–2 Days |
| Fence Installation | 2–4 Days |
| Total Time | A few days to 1–2 weeks |
You’ve now learned how to install a chain link fence step by step. With the right tools and careful attention, you can build a fence that lasts.
You’re almost done with your chain-link fence. Now, you need to install the gates. Gates let you move in and out easily, but they also keep your yard secure. Here’s how you can make sure your gate works well and stays strong:
Place hinges at the top and bottom of the gate. If your gate is taller than six feet, add a hinge in the middle. This helps spread the weight and keeps the gate from sagging.
Pick a latch that’s easy to open and close. Make sure the lock fits with the latch so you get extra security.
Use heavy-duty strike plates. These plates hold up against force and keep your gate locked tight.
Choose gate hardware that works in your climate. If you get lots of rain or snow, pick rust-resistant parts. Check the hinges and latch every season to keep them working smoothly.
If you want perfect alignment, you can hire a pro for the foundation and final tweaks. Most people can do it themselves, but a professional touch helps with tricky spots.
Tip: Test your gate a few times before you finish. Open and close it to make sure it swings smoothly and locks securely.
After you finish installing your chain-link fence, you need to check everything. Small fixes now help your fence last longer and look better.
Walk along the fence and check each post for stability.
Look at the panels and make sure they’re straight.
Test the gate latch and hinges. They should move easily and stay locked.
Check for rust or corrosion, especially near the ground.
Stretch the mesh tight by hand. Use a fence puller or come-along to help if needed.
Tie the mesh to the top rail and line posts every 12–18 inches with aluminum ties.
Make sure the mesh sits close to the ground, but not touching it.
Here’s a table of common issues you might see after installing a chain-link fence:
| Issue | Description |
|---|---|
| Rust | Water causes rust, which weakens the metal. |
| Sagging | Posts or tension wire lose strength, making the fence droop. |
| Bent Framework | Wind or impacts bend the frame, hurting stability and looks. |
| Gaps due to Erosion | Soil washes away, leaving holes under the fence for pests. |
| Loosened Fittings | Hardware gets loose, making the fence wobbly. |
️ Keep your chain link fence in top shape by cleaning it with a hose and soft brush. Remove debris after storms and check for loose wires. Apply rust-resistant coatings if you see any rust. Make sure water drains away from the fence and trim plants nearby to stop moisture from building up.
You’ve now finished your chain-link fence project. With these final touches, your fence will stay strong and look great for years.
You can install a chain link fence with confidence when you follow each step and stay safe. Always check local codes, call 811 before digging, and mark your property lines. Prepare the ground, use sturdy materials, and keep the fabric tight to prevent sagging. Here are some common issues to watch for:
| Issue | Cause |
|---|---|
| Bent top rails | Fallen limbs or climbing |
| Damaged posts | Weather or impact |
| Loose fabric | Tearing or becoming loose |
| Ground-level gaps | Frost heave or soil erosion |
Chain link fences last long, need little upkeep, and save you money over time. Double-check your work, take safety steps, and enjoy your new fence!
You can finish most chain-link fence projects in a few days. If your yard is large or has tough soil, you might need up to two weeks. Planning and gathering materials early helps speed up the process.
Chain-link fence cost depends on the length, height, and type of materials you choose. If you add gates or privacy slats, the price goes up. Doing the work yourself saves money compared to hiring professionals.
Yes, you can install a chain-link fence on your own. You need basic tools and a clear plan. Ask a friend to help with stretching the mesh or setting posts. Teamwork makes the job easier.
Always check with your city or local office before you start. Some places require permits for fences over a certain height. Your homeowners association may also have rules about fence style or placement.


